After a couple weeks of work and a good deal of trial and error, I have completed V0.2 of Serraglio. My goal for this version was to get all of the roads in with intersections, proper textures, and more accurate height data.
First I did a google search for LIDAR data of the Monza / Lombardy area. Luckily I was able to find this great blog that lists sites where you can find data for places all across Europe. The blog sent me to the Lombardy's geoportal for data downloads here. After some sorting and searching I finally settled on a database that is accurate to within 5 meters of the whole region. While I know this isn't perfect it was the best I could find, and its certainly better than the 30m accurate GIS data. I followed this guide for converting point clouds to meshes. Once in Blender I had to delete the data points I didn't need and find the 2 square km area that I needed. Fortunately Monza is located near some pretty distinct mountain faces and I was able to get the area almost exactly.

After cutting out big chunks of the scan that I didn't need, I narrowed search window to the circle that can be seen on the map. The final adjustments came as I was able to match up the rivers that run near the circuit.
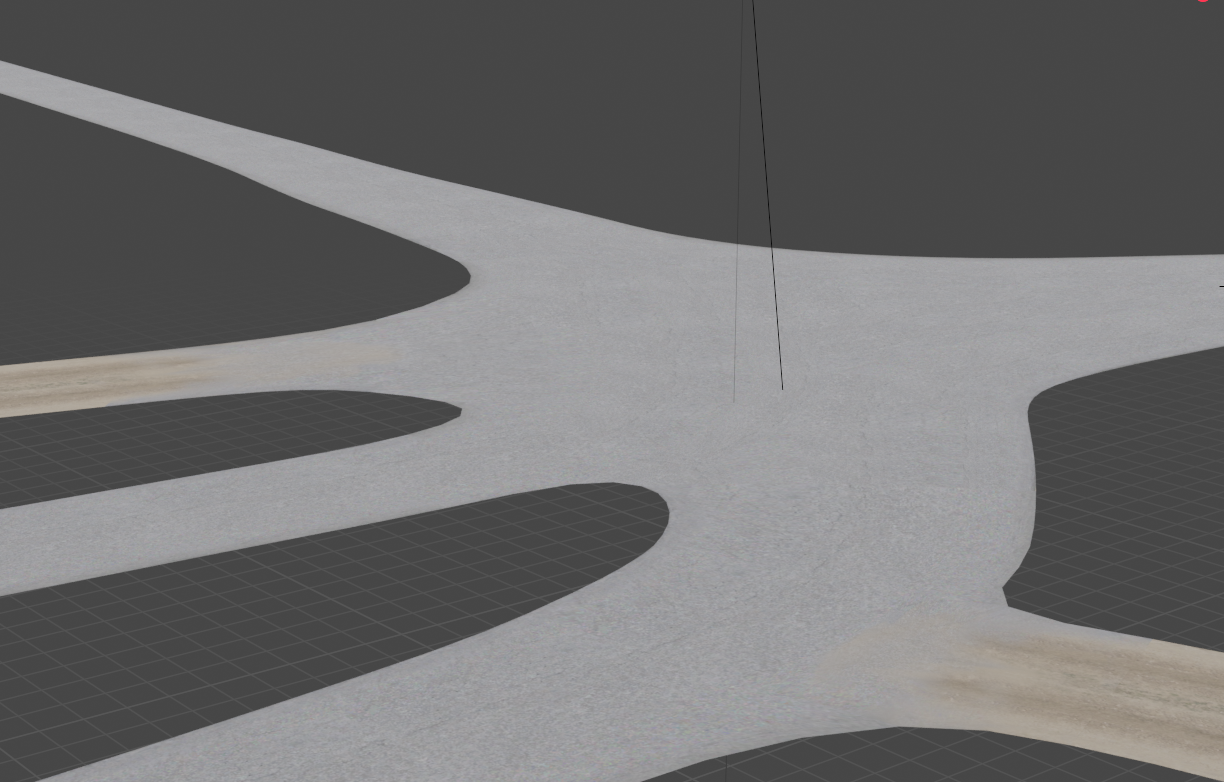
Next it was time to figure out how I wanted to model the intersections, my first trial was doing one of the trickier spots right at the beginning of the stage, a 5-way intersection with 2 dirt roads and 3 tarmac roads.
Some initial testing to see if I could even get the geometry to look half decent, didn't end bad per se, but I still had a long way to go. My biggest breakthrough came after watching this video on YouTube. After this I essentially scrapped the work I had done in V0.1 and created the roads from scratch, I still used a few curves, but this method seemed to produce much better results. Seeing how easily road textures could be manipulated, and when done properly it can look really good. I have also seen some tips for using vertex colors to make roads look less flat, and here is the result of the same intersection after some testing.
I was really quite happy with the results here so I continued forward, below are screenshots of my progress over the weeks.
With all the roads completed my next task will be creating the ground mesh. Here I will learn if not creating trackside grass as I created the roads was a good idea... I'm guessing I'll have a lot to learn this go round too.
My biggest takeaways from the work of the last couple weeks:
- If you're going to use curves and arrays to make roads, use the NURBS curve, the roads look much more natural.
- If you have lots of intersections making the roads by hand may be preferable
- Using a big texture plate with all road textures on it is considerably easier than having a different material for each surface.
- UV Editing can really help blend road textures together.
- Gravel road textures are harder to blend together than tarmac
- WRC+ Onboards are a must have for stages like this
My plan of attack for getting to V0.3
- Find an acceptable poly-count level for tracks
- Work from the start of the stage to the end, doing only the necessary nearby terrain
- Find / create any additional grass and transition textures if need be (there are many spots where the drivers have "meandered" from the racing line into grass so there's a good deal of torn up grass that I'll need to texture).
- Once the detail terrain is created, fill in the remaining areas with larger polys
- Look into some low poly vegetation
- Define some rough tree and tree wall placement
That's all for now, I'm sure the next post will be just as packed with learning and mistakes, until next time.